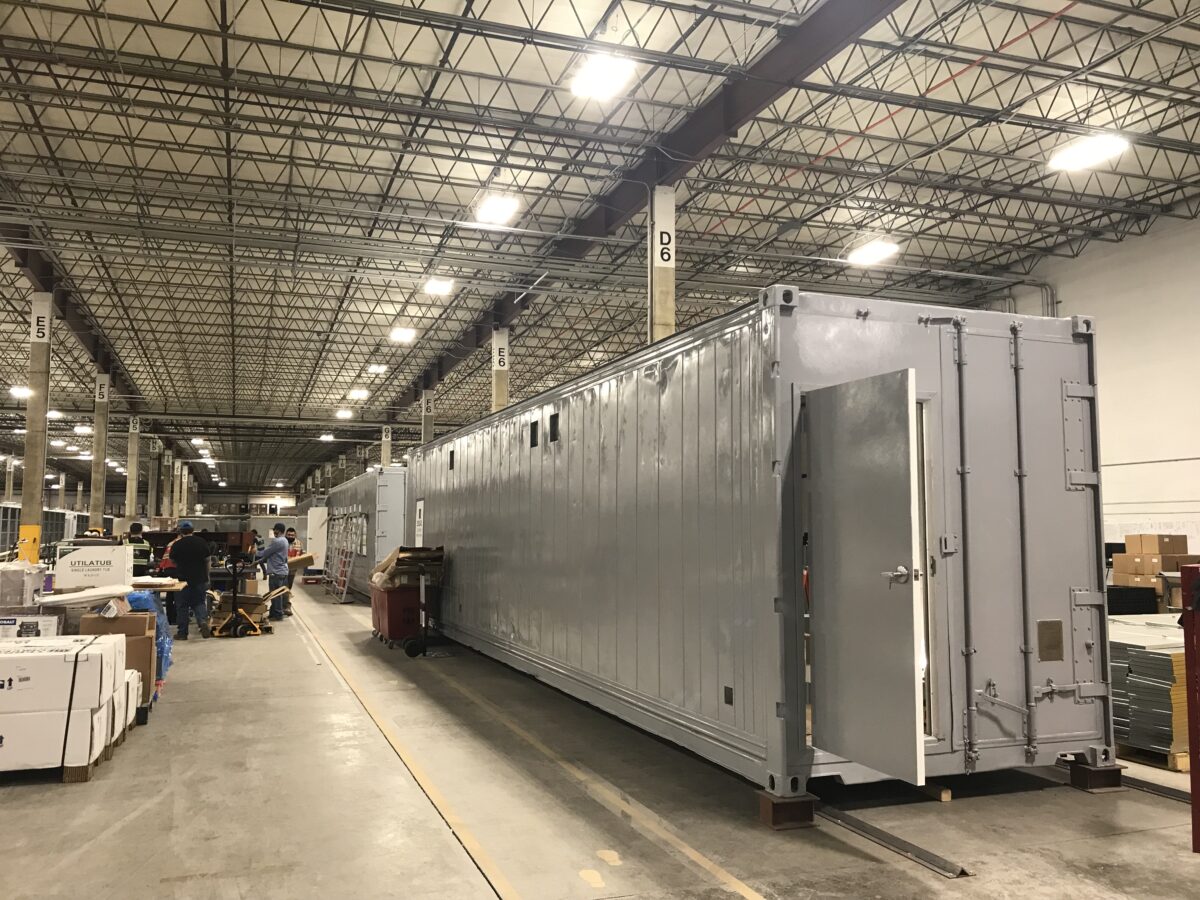
Mushroom farming is quietly becoming one of the most exciting opportunities in modern agriculture. It sits at the intersection of food security, sustainability and smart business. What used to require highly specialized growing conditions and large facilities that are expensive to heat and cool can now be achieved inside a controlled-climate container no larger than a shipping unit. This shift is opening the door for entrepreneurs, educators and organizations to grow high-value crops year round with consistency and confidence.
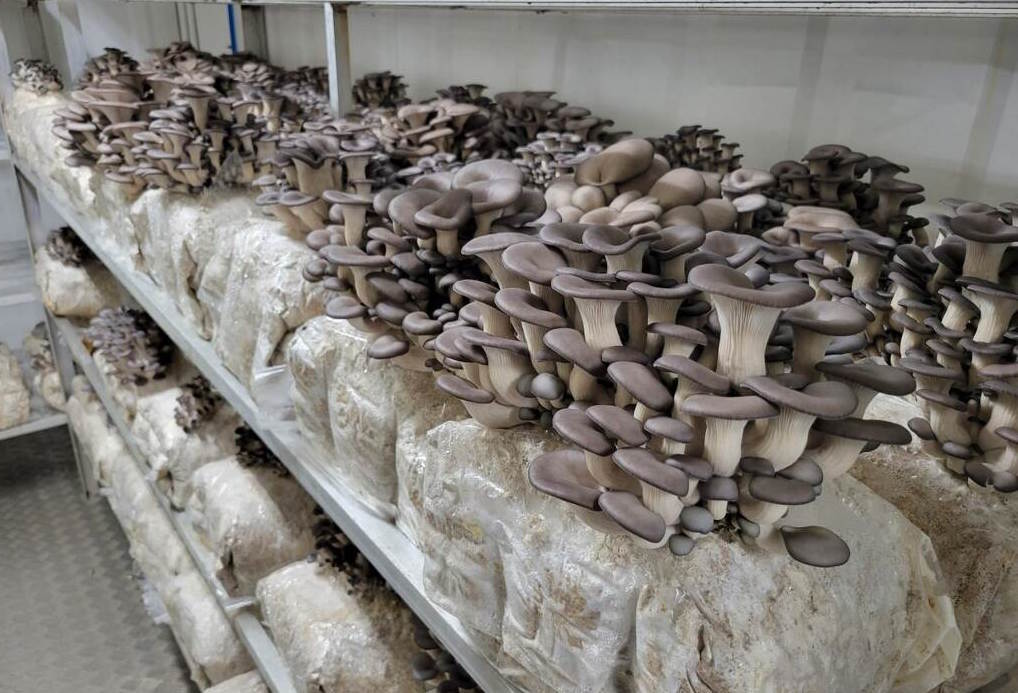
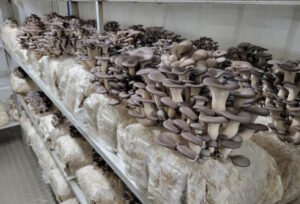
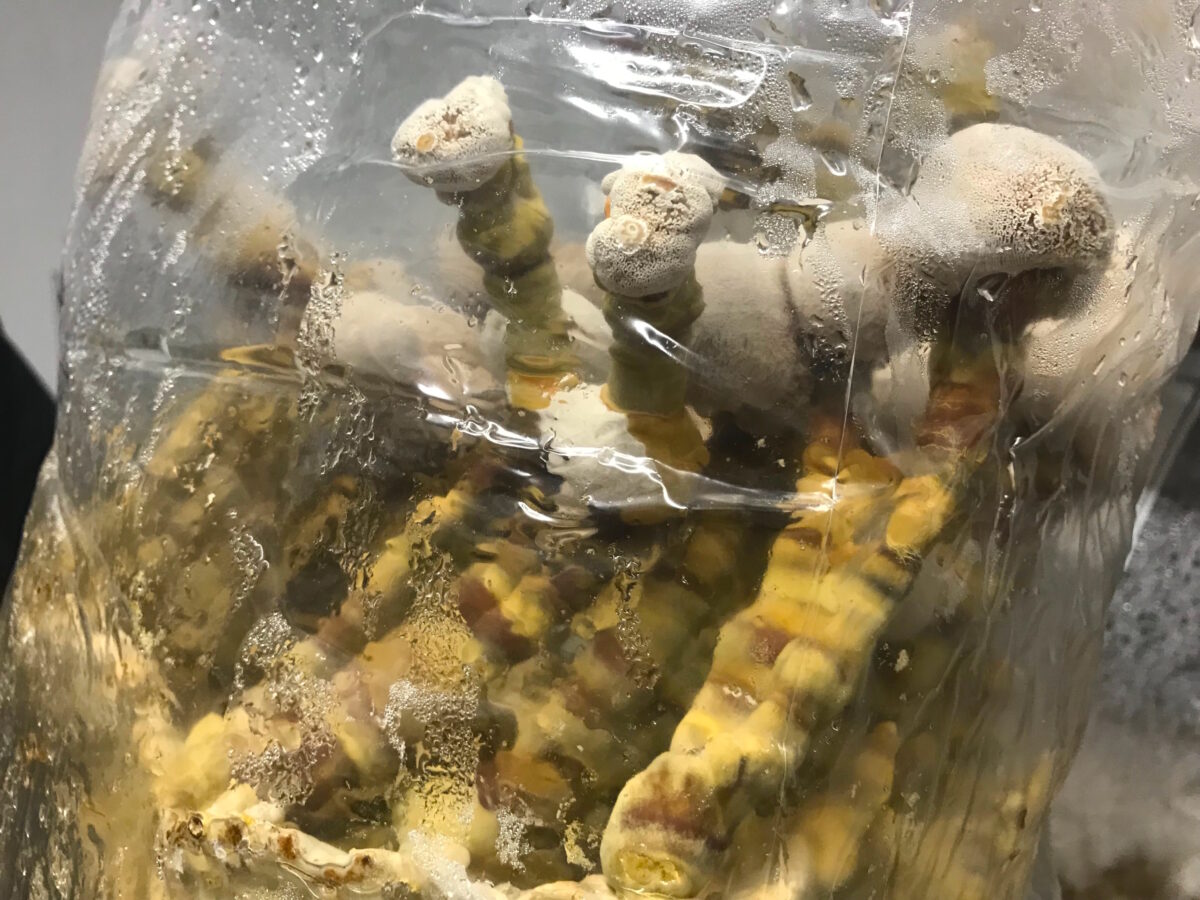
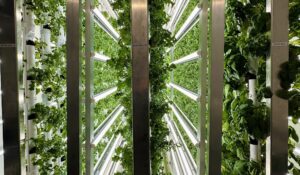
 At its core, mushroom farming is about precision. Mushrooms are not like traditional crops. They do not rely on sunlight and they thrive in carefully managed environments with exact humidity, temperature, airflow and carbon dioxide levels. This makes them uniquely suited for indoor production. A controlled-climate container takes that concept further by creating a sealed, optimized ecosystem where every variable is dialed in for peak performance.
For a business owner, this translates into predictability. Instead of battling weather, pests and seasonal swings like most farmers, you are operating within a stable environment that produces consistent yields. That reliability is a major advantage when supplying restaurants, grocery stores or institutional buyers who demand steady inventory and uniform quality.
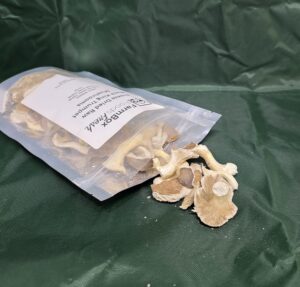
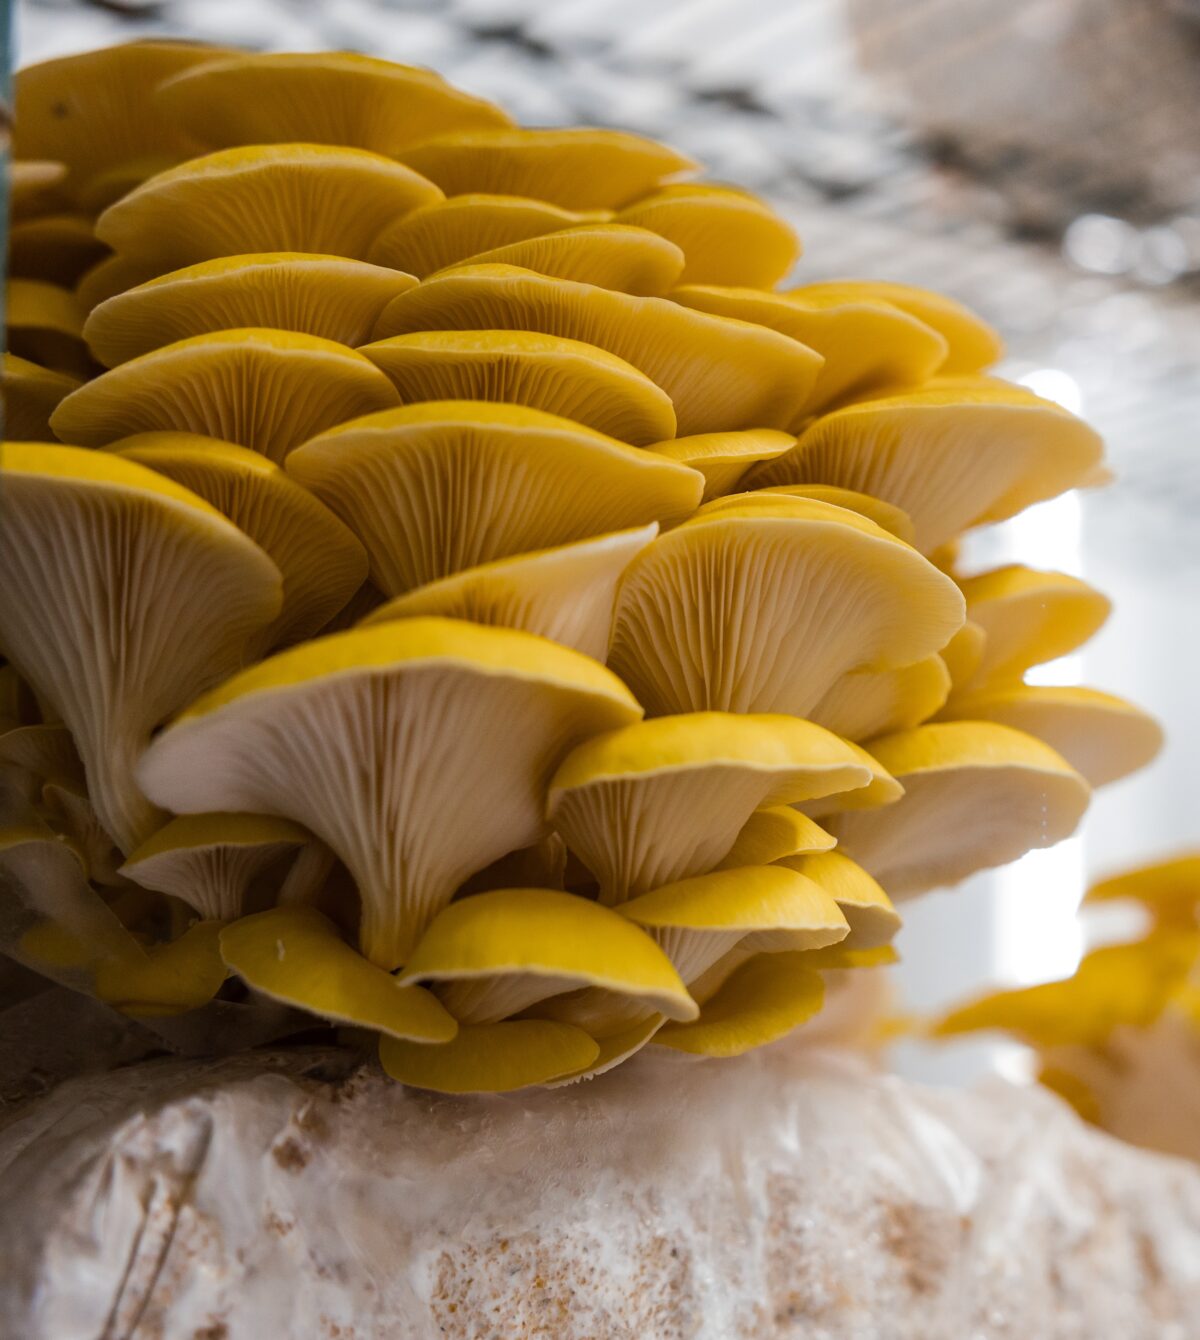
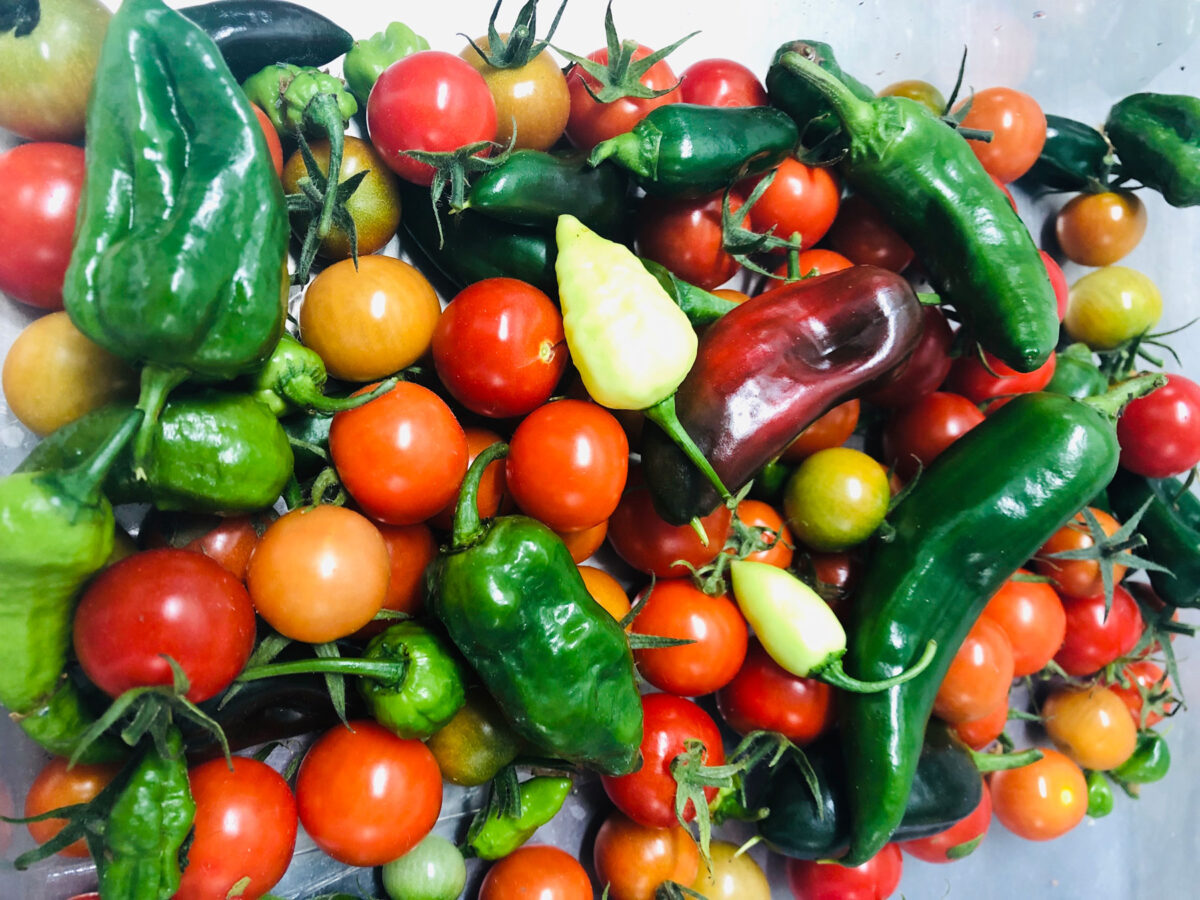
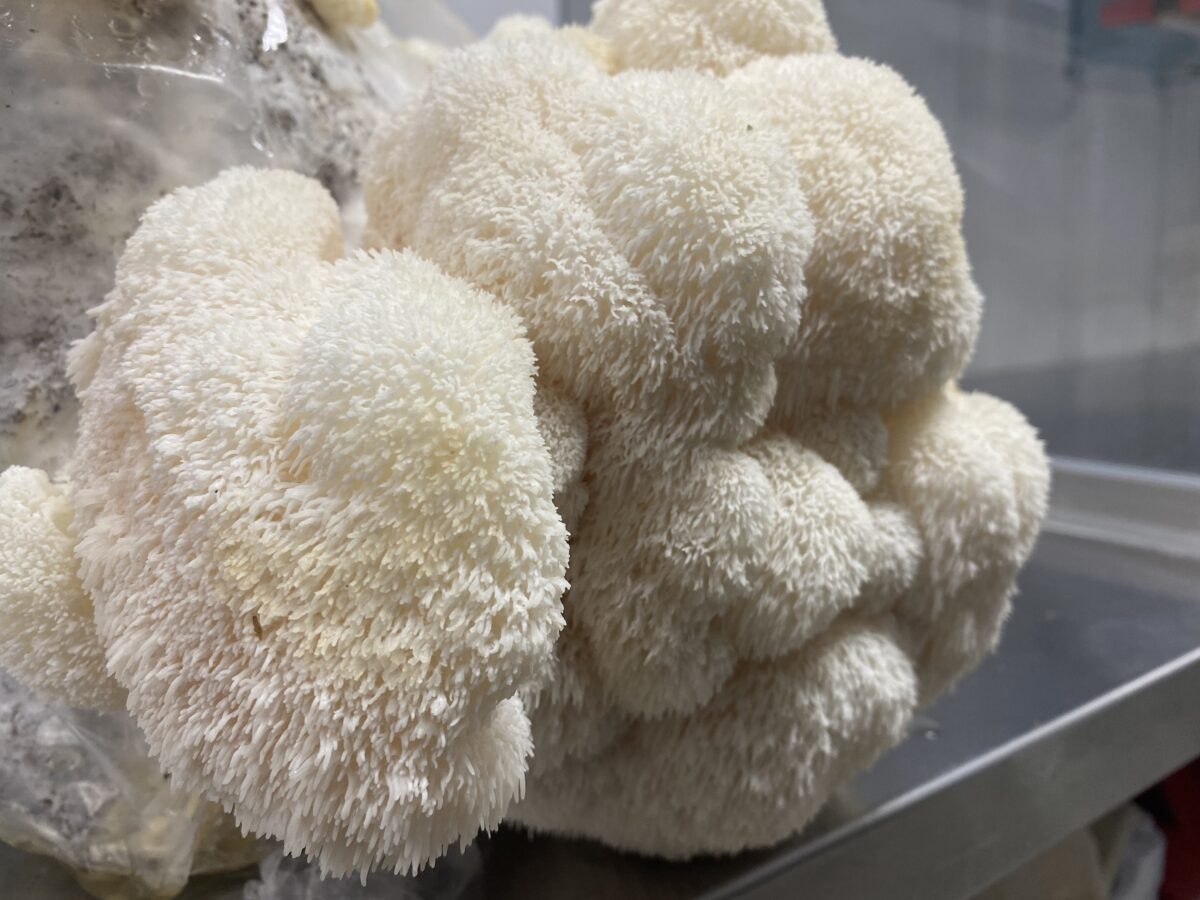
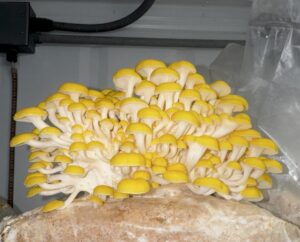
The economics are equally compelling. Gourmet mushrooms such as oyster, lion’s mane and shiitake command premium prices in local markets. Chefs value their flavor and freshness. Consumers are increasingly drawn to their health benefits and culinary versatility. With a container-based system, growers can produce these varieties close to the point of sale, reducing transportation costs and delivering a fresher product than large scale distributors can offer.
This local advantage matters. In many regions, mushrooms travel hundreds or even thousands of miles before reaching the shelf. By the time they arrive, quality has already begun to decline. A container farm located within the community can harvest and deliver within hours. That freshness becomes a selling point that customers are willing to pay for, especially in farm to table markets.
Another powerful aspect of container mushroom farming is its accessibility. Traditional agriculture often requires large tracts of land, significant water resources and years of experience. A container system lowers those barriers. It can be placed in urban areas, on unused lots or alongside existing businesses. It requires far less water than field crops and can operate with a relatively small team. With the right training and support, even first time growers can achieve success.
This accessibility also opens doors for diversification. Restaurants can grow their own specialty mushrooms. Schools can integrate production into hands-on STEM education. Correctional facilities and community programs can use mushroom farming as a workforce development tool. The versatility of the container model allows it to fit into a wide range of environments and missions.
From a sustainability perspective, mushrooms are already one of the most efficient crops to produce. They grow on agricultural byproducts such as sawdust or straw, turning low value materials into nutrient dense food. A controlled environment enhances that efficiency by minimizing waste and optimizing resource use. Water use is nominal (about 10-15 gallons per day). Energy consumption is managed through insulation and automation. The result is a system that aligns with growing demand for environmentally responsible food production.
Automation plays a key role in making this all work. Modern container farms are equipped with sensors and control systems that monitor and adjust conditions in real time. This reduces the need for constant manual oversight and allows operators to focus on harvesting, packaging and sales. It also creates opportunities for remote monitoring, giving owners the ability to manage their operation from virtually anywhere.
For those considering a new business venture, the scalability of container mushroom farming is particularly attractive. You can start with a single unit and prove your market. As demand grows, you can add additional containers to increase production without reinventing your process. Each unit functions as a repeatable module, making expansion straightforward and manageable.
Marketing mushrooms is often easier than people expect. They have a strong story behind them. They are nutritious, sustainable and locally grown. They appeal to chefs, health-conscious consumers and anyone interested in supporting regional food systems. With the right branding and outreach, growers can quickly build relationships with buyers and establish a loyal customer base.
There is also a growing awareness of the functional benefits of certain mushroom varieties. Lion’s mane is associated with cognitive support. Reishi is often linked to immune health. While regulations vary around health claims, the general interest in these benefits is driving demand. This creates additional opportunities for growers to differentiate their products and tap into premium markets.
Of course, no business is without challenges. Success in mushroom farming requires attention to detail, adherence to best practices and a commitment to quality. Contamination control, proper handling and consistent monitoring are essential. However, these challenges are precisely what a controlled-climate container is designed to address. By standardizing the environment and providing built-in systems for sanitation and airflow, it reduces many of the risks that can derail traditional operations.
Ultimately, a container-based mushroom farm is more than just a piece of equipment. It is a platform for building a resilient, scalable and future focused business. It empowers individuals and organizations to take control of food production in a way that is efficient, sustainable and profitable.
For those looking to enter agriculture without the constraints of land and weather, or for businesses seeking a high-margin product with growing demand, mushroom farming in a controlled climate container offers a clear path forward. It combines the science of controlled-environment agriculture with the art of cultivating one of the most fascinating and valuable crops on the market.
The opportunity is here. The technology is ready. The market is waiting.