Is there any greater gift than bestowing life-changing knowledge to younger generations?
For schools that focus on science, technology, engineering and math — or those that simply think outside the box when it comes to how they educate their students — it’s a no-brainer. The trend of implementing curriculums that emphasize hands-on learning is on an upward trajectory, and it shows no signs of slowing.
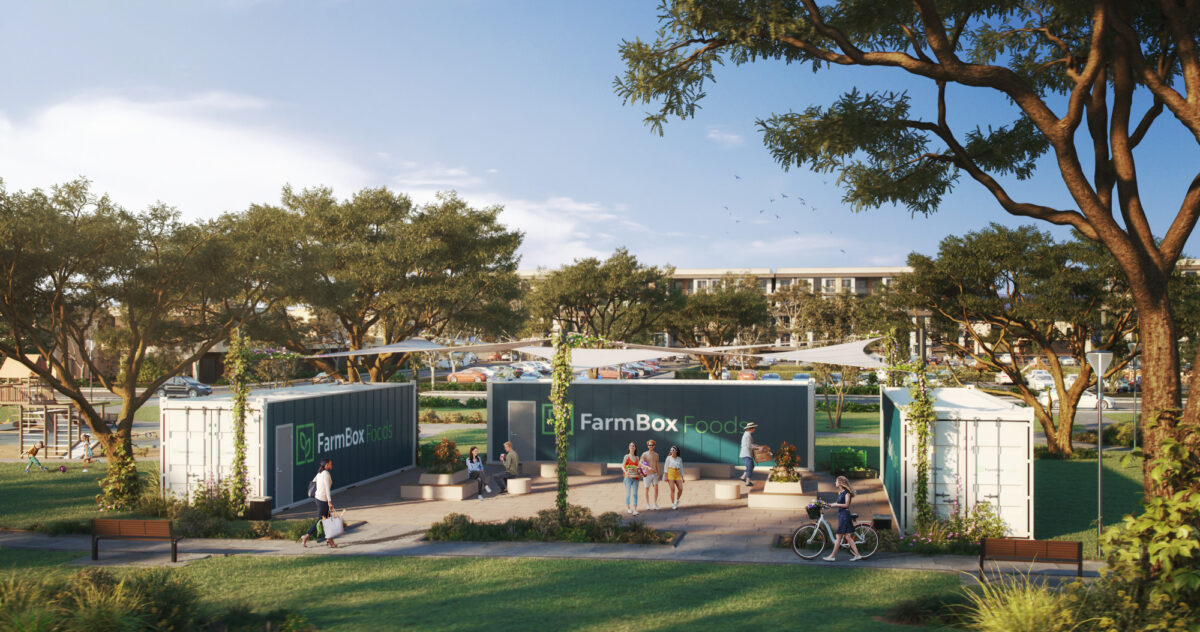
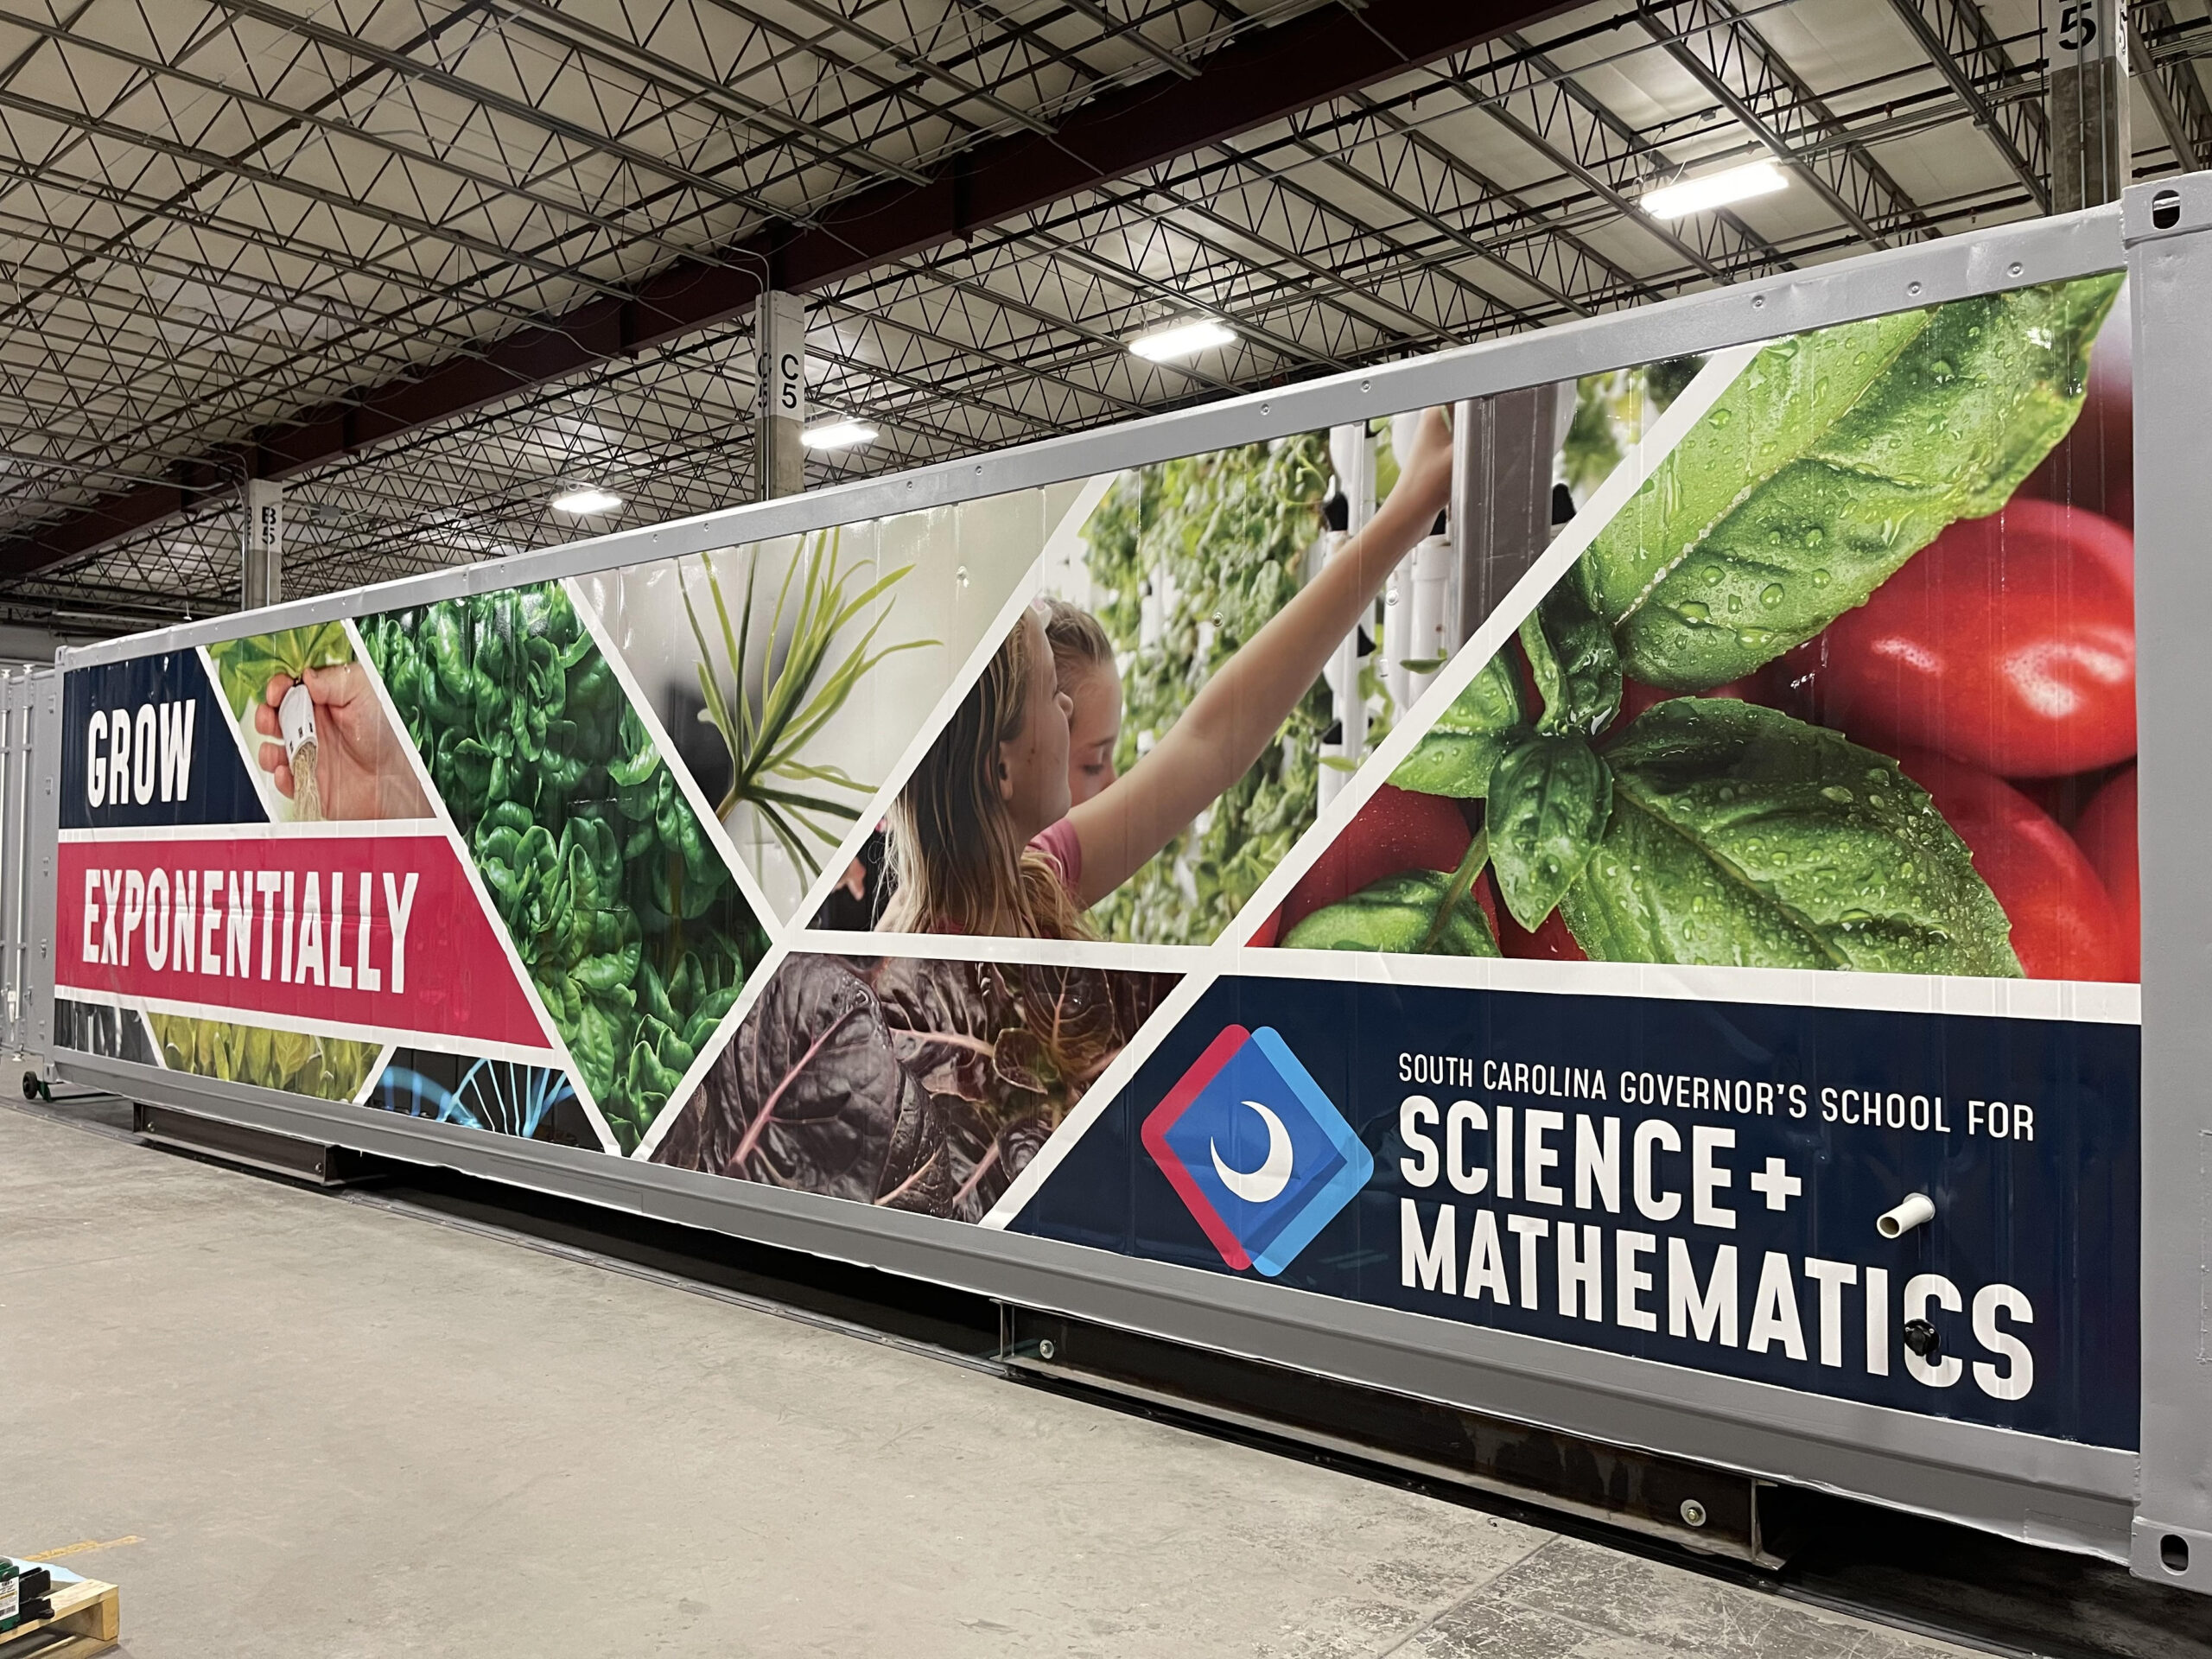
The Governor’s School of Science and Mathematics in South Carolina is a prime example of how to promote greater interest in learning among all students, including those who struggle in a traditional, straight-out-of-the-textbook setting. The high school recently began growing in a Vertical Hydroponic Farm made by FarmBox Foods that will serve as an interactive classroom for years to come. It’s housed inside an upcycled shipping container that’s been outfitted with all of the plumbing, electrical components and sensor technology needed to grow food.
Oftentimes, engagement is the key that unlocks the door to improved attentiveness, and producing something tangible hammers home the potential impacts. When a student is able to hold, say, a fresh head of lettuce that was grown via ingenuity, it can spark something greater: intense motivation to learn more. They suddenly — and satisfyingly — have used both existing and newfound knowledge of science and technology to grow fresh, nutritious food, perhaps for those who face hunger in their community. The students can literally hold the real-world impact in their hands.
GSSM’s Hydroponic Research Lab, however, isn’t necessarily centered on what it can produce, but how it produces, and, perhaps more importantly, why. It’s a venue for all-encompassing lessons in everything from civics and social responsibility to inventing new indoor farming techniques and creating avenues for environmental stewardship that previously didn’t exist. The educational promise is boundless, as are the practical applications that result.
In many respects, encouraging initial failure provides interdisciplinary opportunities for critical thinking and problem solving. GSSM’s students will have the ability to experiment with different controlled environments, study the research findings, and help answer questions about its effects on the agricultural community in its region, state and beyond. The lab will also help students to develop and standardize hydroponic research protocols for model plants used in plant science, plants of interest and plants beneficial to the area.
“The GSSM Hydroponic Research Lab provides unprecedented opportunities for students to engage in meaningful research on issues of worldwide significance right here on the GSSM campus in Hartsville, SC,” said GSSM Director of Research and Inquiry, Dr. Josh Witten. “Because this lab represents a unique research resource, it will also be a platform for GSSM students, faculty, and staff to collaborate with researchers beyond our campus. These innovative and immersive experiences are a hallmark of the GSSM education, which prepares students to become the problem solvers of tomorrow.”
The container farm contains elements of — and applications for — biology, chemistry, environmental science, engineering, computer science, robotics and economics, and is ‘being used as a teaching tool to engage their creativity,” the school said.
Creating a curriculum
Within the next 1-2 years, FarmBox Foods plans to roll out a curriculum specific to each controlled-climate farm it manufactures. The Colorado company is fortunate to be surrounded by educators of all types who have offered to contribute their expertise to the endeavor, largely because they can see the enormous potential. The goal is to create plug-and-play lesson plans that fit with current science and technology curriculums.
User-friendly automation within the Vertical Hydroponic Farm puts control in the hands of the students and teachers. For example, they can tweak the watering schedule or crank up the humidity and witness first-hand its effects on the plants, and learn precisely why it has such a big influence on the growing process. They can also explore how plants that historically haven’t been able to grow in low humidity can survive.
Higher learning
One of FarmBox Foods’ prototype hydroponic container farms was delivered to the campus of Delaware State University in Fall 2022. Consider for a moment all of the different academic disciplines and tracks that a single farm can touch, from marketing and business development to mechanics and horticulture.
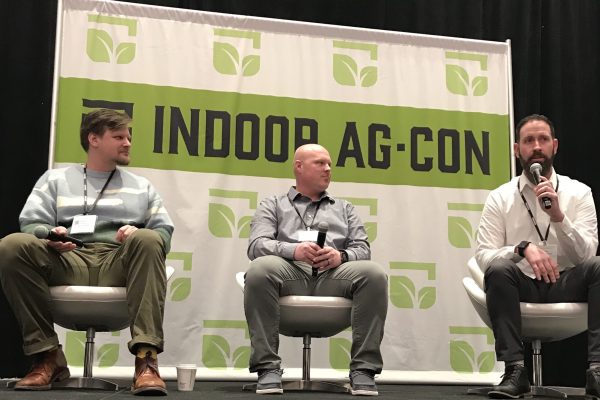
“We have a lot of interested clients looking for ag-tech solutions to bring to schools,” said Michael Choi, owner of Ponix, which equips indoor farms with specialized software. “It offers a compelling story for schools — how they can work with the community, and offer things like workforce training. It’s how you program around it.”
Choi, who sold the used farm to Delaware State University, said they will use it for both food security and educational purposes.
“I’ve been working with a network of schools for many years, and that particular school wanted to move forward quickly,” he said.
Valor Christian High School, in Highlands Ranch, Colo., has a project-based learning environment that is helping to lead the next generation of agriculturists to the greener pastures of the future.
The Applied STEM Program, led by director Rick Russon, enables students to put into practice what they learn in the classroom, preparing them for successful careers in a number of industries, including agriculture. Members of Valor’s agriculture club, in particular, have an infectious enthusiasm for ideas that combine brain power with a desire to make a positive impact on the world, and it’s already leading to groundbreaking results. For their capstone project, Russon and the club members built a four-tube vertical hydroponic unit using prototype parts donated by FarmBox Foods.
The Applied STEM Program is aiming to modify the four-tube hydroponic system and build several models to bring them into food deserts to feed people in need. Valor Christian sends nearly 40 teams throughout the world each year on missions, and Russon’s hope is that they can help deploy a workable system in areas with little arable land and few natural resources.
The Valor-based vertical hydroponic setup continues to draw interest from students and faculty who want to grow their own farm-fresh greens and help others learn the science behind the hydroponic growing process.
By the numbers
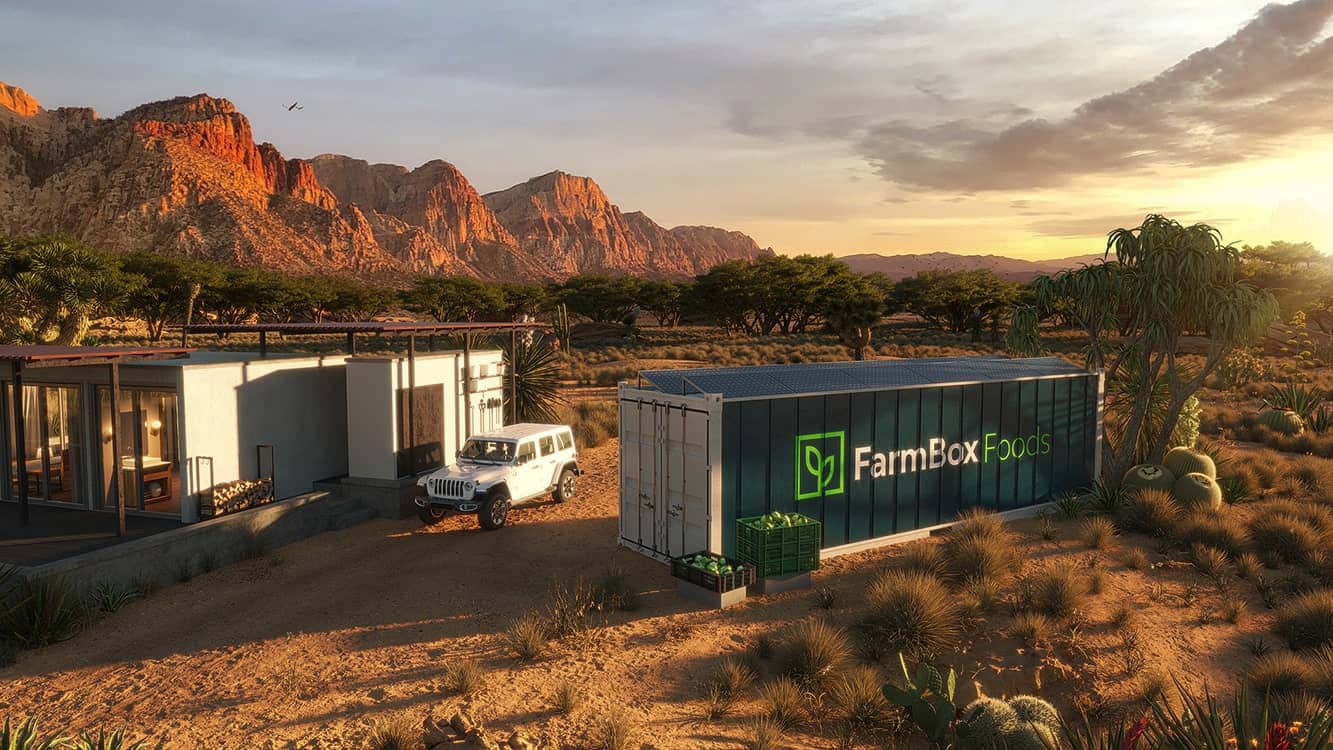
- The farms are housed inside an insulated, 40-foot-long shipping container
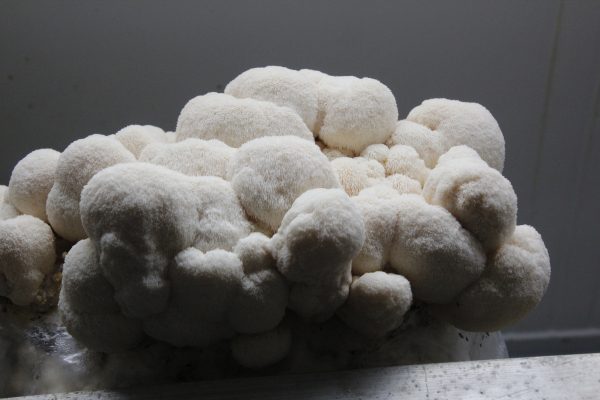
- A Vertical Hydroponic Farm — or VHF — produces 200-250 lbs. of veggies each week; a Gourmet Mushroom Farm yields around 400 lbs. of mushrooms per week
- The farms have a 320-square-foot footprint
- A Vertical Hydroponic Farm can grow approximately 8,000 plants in various stages of growth simultaneously (4,100 in the grow walls, 3,800+ in the seed table)
- Because of its ability to capture, filter and recycle water, the Vertical Hydroponic Farm uses around 5 gallons of water per day
- The VHF yields the equivalent of approximately 2.5 acres of farmland annually
- The VHF grows peppers, grape/cherry tomatoes, microgreens, tree seedlings, as well as a variety of leafy greens, like lettuce, kale, cabbage and culinary herbs
- Estimated labor required for a VHF is 15-20 hours per week. Labor for the Gourmet Mushroom Farm is about 30 hours per week